5 Techniques To Improve Your Guitar Recordings
We all know the feeling: We work our asses off, practice our instruments as often as possible, and yet our recordings still aren’t hitting the mark. Thankfully, there are some tricks that can help you take your recordings to another level and keep the fun factor up high in the studio.
Here are 5 techniques that helped me shape the sound I wanted when recording:
Gear
It’s immensely important to take a closer look at the equipment we use. By that, I don’t mean buying a €3000 guitar and an even more expensive amp, rather asking yourself questions like: do I have a proper cable? Many people (including my younger self) feel that such small parts (eg cables, picks & strings) do not change the way we sound – but believe me, they do. If your strings are two years old, they will sound like they are two years old. If your pick is completely worn down, it will sound worn down. If you have a guitar cable that costs only 5 bucks, the results will sound equally as cheap. Cables are especially important for guitarists using stompboxes and FX, it’s imperative to use cables that work well for the whole signal chain. I am currently using the Monorail by Evidence Audio (not sponsored), which is great because you can cut them yourself and have patch cables exactly the length you need them to be.
To reiterate, I don’t mean buying the most expensive equipment that you can find, but rather striking a balance between cost-effectiveness and quality. You’ll thank yourself for paying that little bit extra when you look back, but at the end of the day, go with whatever sounds good to you.
Setting up EQs and Tone
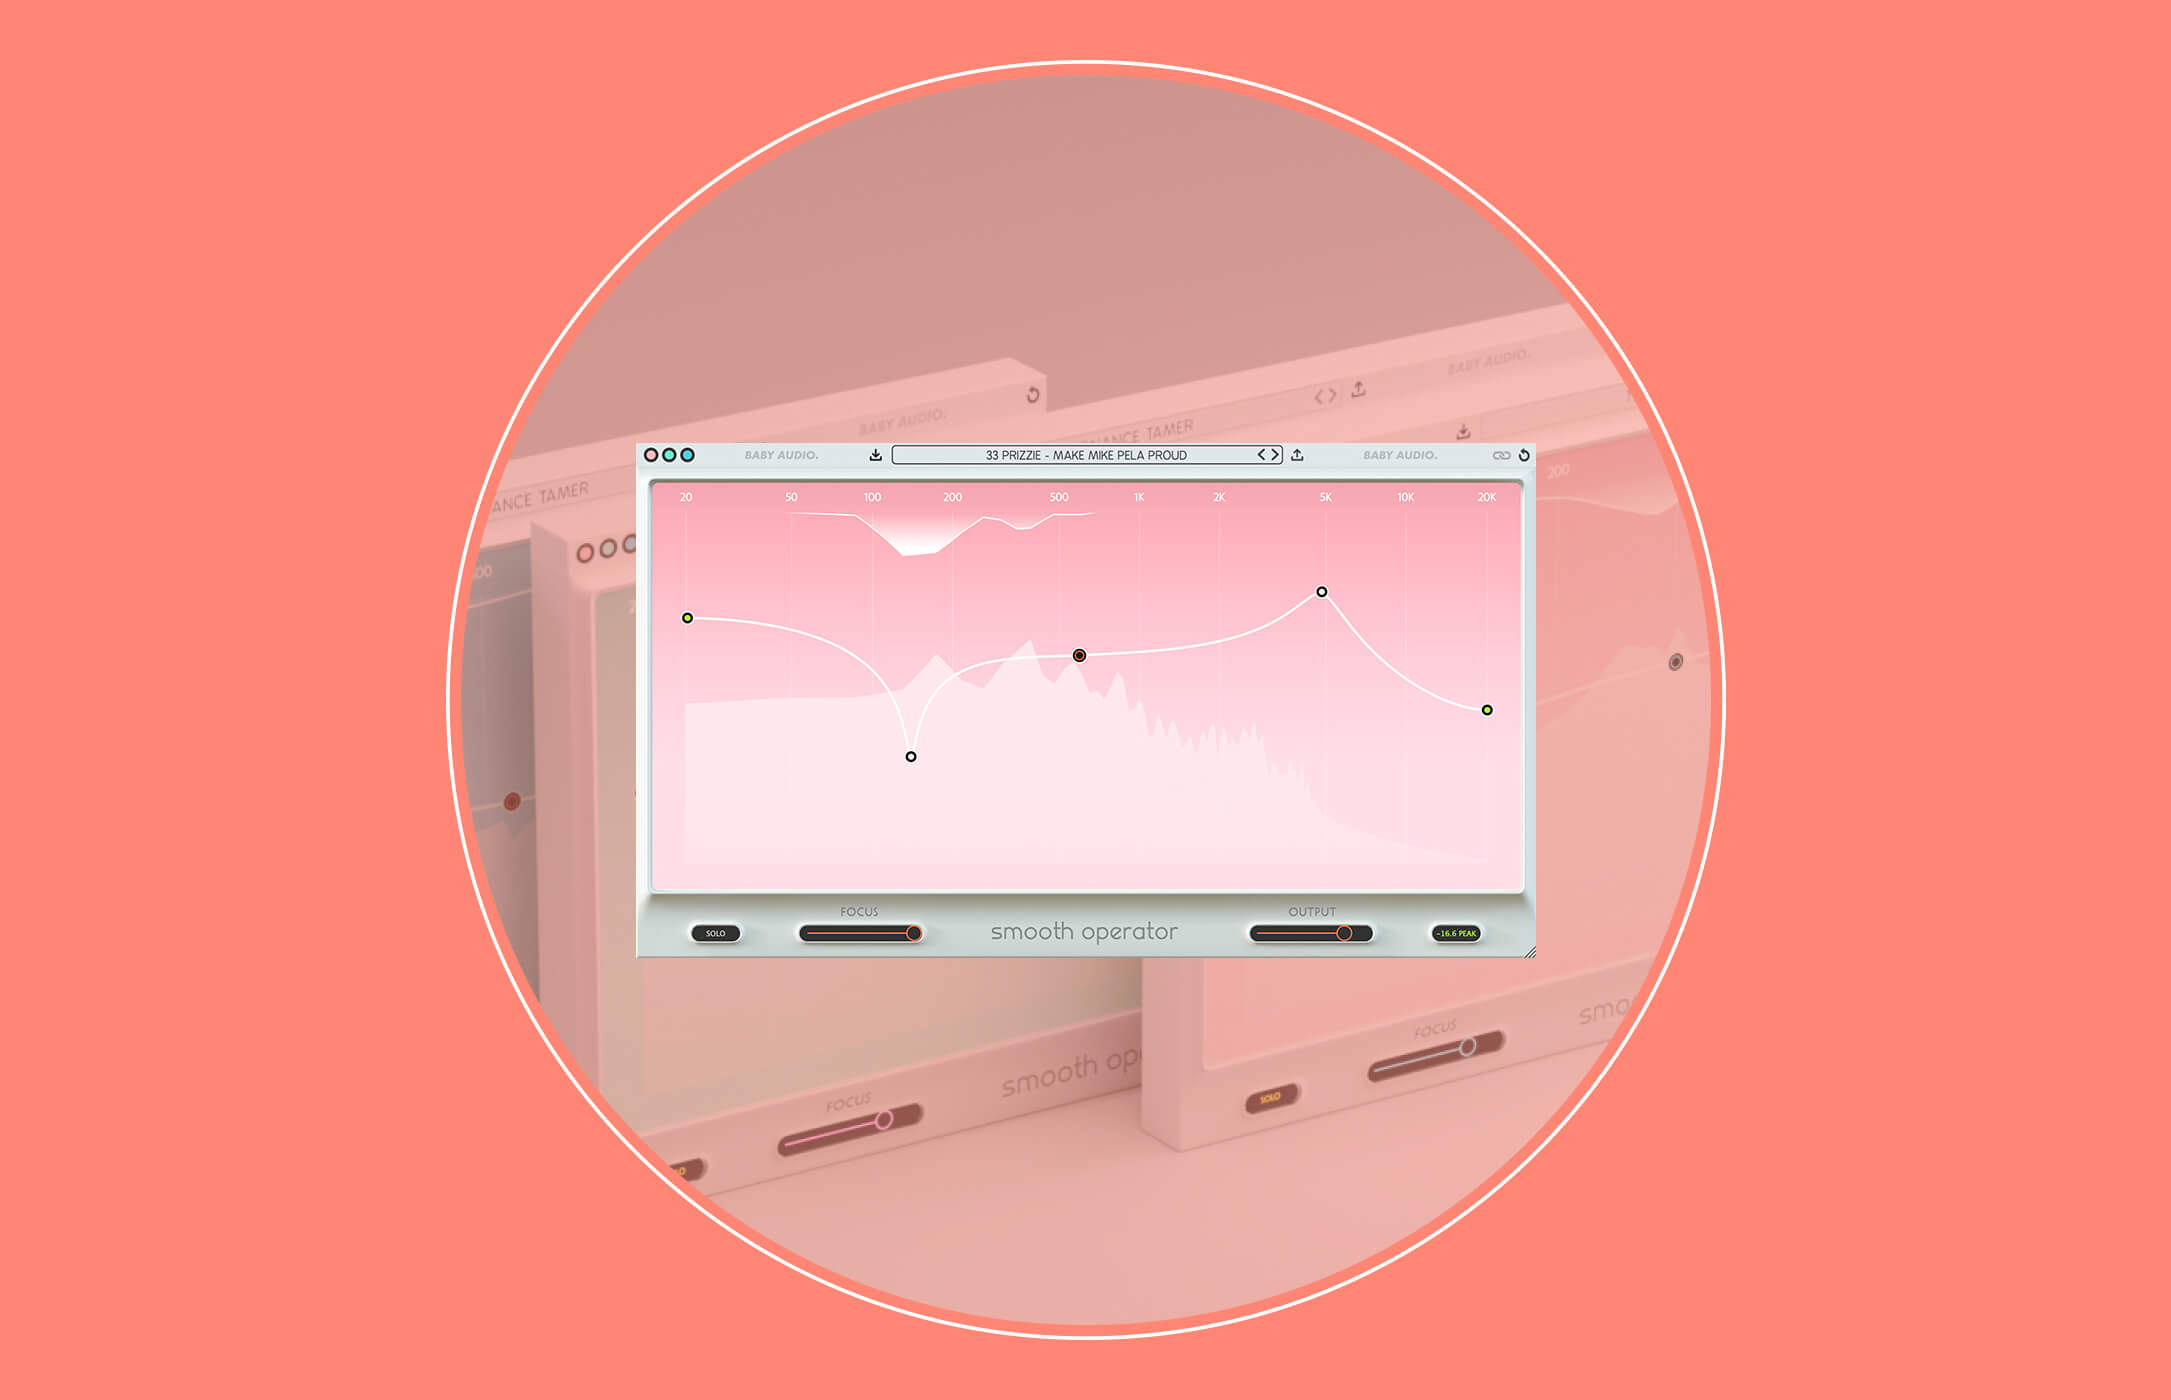
Now that we have our equipment set up, our next step is to check the sound, meaning that we need to check our EQ. It doesn’t matter whether you play an analog amp or all-digital, since plugins & profiling amps can simulate their analog brothers and sisters.
When talking about EQ it is pretty important to have in mind what your guitar will do in the track, and what parts of the frequency spectrum should be covered.
Most of us tend to put a lot of bass into our sound, consequently, we feel like our guitar sounds bigger. However, a lot of times we play with a bass player who is not too happy about this, because it’s hard for them to cut through the mix. Another example is adding too much treble, often because it’s much easier to recognize an instrument with a lot of highs. However, when we then work with vocalists it gets difficult for them to hear themselves, which then in return leads to pitch and tuning problems. The solution is figuring out an optimum sound that still leaves enough space for the other instruments.
Check the EQ on your amp, plus your tone control on the guitar, maybe check whether there is another pickup you could use (because changing pickups is like an EQ as well), and you’re good to go.
Mic Placement
With our guitars sounding better already, the next stage is setting up your microphone(s).
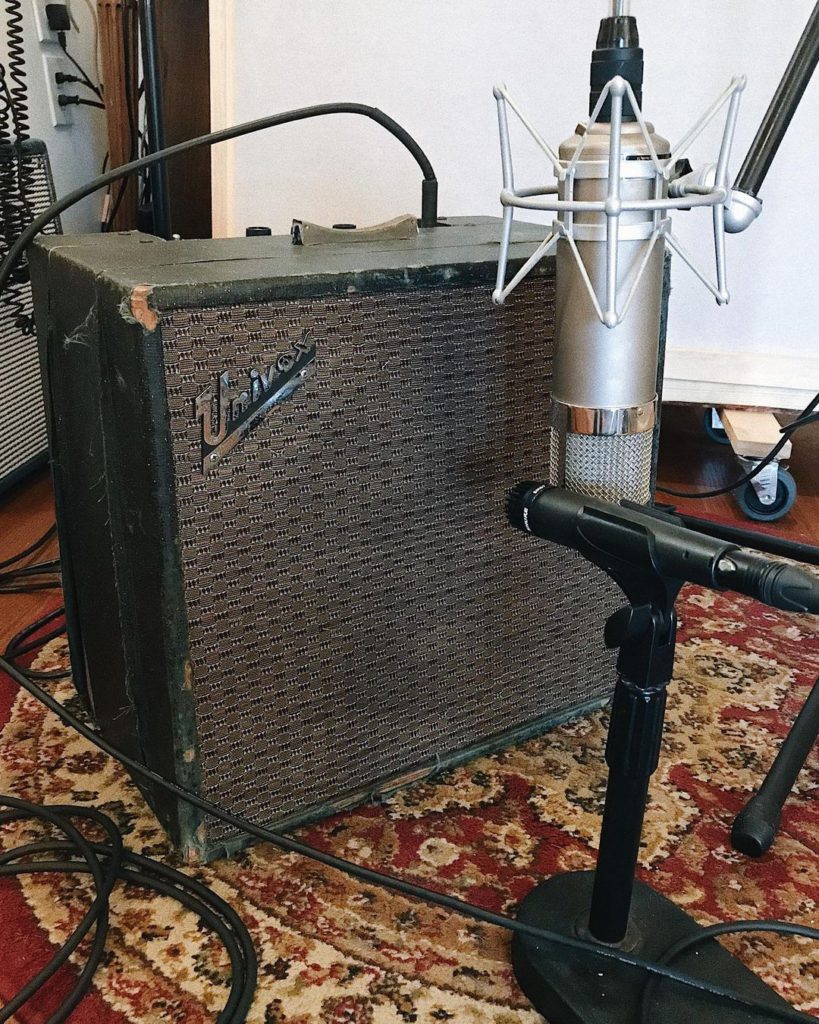
Most guitarists use a simple SM57, or even an SM58, in front of their cabinet and that’s pretty much it. This is fine, they’re both affordable and tend to last a long time (as recommended in Step 1). But, don’t be too hasty when it comes to actually place the mic. Your sound can change drastically due to microphone placement (most digital cabinets have a choice for mic placement as well).
For example, if you prefer a roomier sound, why place your mic directly in front of the speaker? – perhaps you’re more of a ‘20 cm away’ person. There’s no easy shortcut to finding that perfect sweet spot every single time, it’s totally dependent on your taste. Don’t slack on this one, just because it’s boring to move the mic 2 cm to the side.
I always used to place my mic too close to the middle of the speaker, which wasn’t my sound at all. I now place the microphone more on the side, almost to the end of the cabinet, between 10–20 cm away.
Side note: If you have a room that sounds really wet and uncontrolled, it might be best for you to do close micing since it can be a pain later down the line to get rid of unwanted roominess.
Volume & Flatmates
Finally, we’re good to go. Everything sounds fine, and we start recording the first couple of bars, when suddenly our flatmate, partner or whoever it is joins the party and tells us we’re being way too loud – an issue undoubtedly more common in a pandemic. So what can we do to let the amp sound the way we want it to, all whilst recording at a lower volume?
In that matter we have to understand what an amplifier is actually doing when it’s loud.
The main characteristic of loud amps that often make the sound more pleasant for our ears is saturation, which is a weak form of overdrive. Not only does the preamp start to saturate (which can be really subtle) but also the speaker. Further, the cabinet starts to compress since it only has a limited range to vibrate.
First things first: if you have low input, use it! Then rearrange your EQ. Every time we change the volume, we should re-check whether our EQ is still doing what we want it to – maybe we now need more bass. Furthermore, we have to figure out a way to get that slightly compressed and saturated sound. The easiest way to achieve this is an overdrive pedal. But look out for an overdrive effect that has the quality to be really subtle, one that is acting as a clean boost. The only thing we want to achieve with this is to let the sound be a little ‘richer’, maybe even distort a little, when we really hit our strings hard.
Still not the right sound? I am using a combination of a clean boost – giving me only a couple of dB more gain – plus an overdrive pedal. Just to be clear: my distortion level on that pedal is at zero, cause it will overdrive anyways.
Rooms & Reverb
We set up everything correctly. Even on a low volume, our sound feels good and full and the mic placement is the way we want it to be. But still, something is missing on our headphones when playing. One of the main reasons – at least for me – is that I am hearing myself in mono. Even though we play our guitar in our practice room/bedroom studio etc, in mono our ears perceive the room from different directions, and therefore in stereo.
So, set up a stereo reverb (most plugins are in stereo anyway). If you need a really short one, set up a slapback delay (a really short delay time + a small amount of feedback), put it in ping pong mode, and there we go.
What I am experimenting with at the moment is setting up a single room mic – which is much easier to handle than setting up 2 room mics – and then putting a stereo effect on it. Currently, I find myself often using the Schoeps Mono Upmix.
Attention! Have a look at phase issues: if you have a closer look at the wavetables of both mics in your DAW (Room Mic/Amp Mic), both frequency waves should move around the same time, otherwise, those frequencies will partly cancel each other out.
By Tim Bücher
